
How To Get Started With Mixed Media Scrapbooking.
- The Secret Scrapbooker

- Jul 10, 2020
- 3 min read
Mixed Media? What’s all that about??!! I was thinking this very thing when I kept coming across this phrase during my daily (maybe hourly) scroll through the many scrapbooking Facebook groups and forums that I’ve somehow become a member of. Sounds technical right? Like you might need to actually have some sort of diploma to be able to even begin to understand it? A bit intimidating to those of us who may not be artistically trained! Turns out that’s not the case at all and it’s a technique that can be as simple or as elaborate as you want it to be.
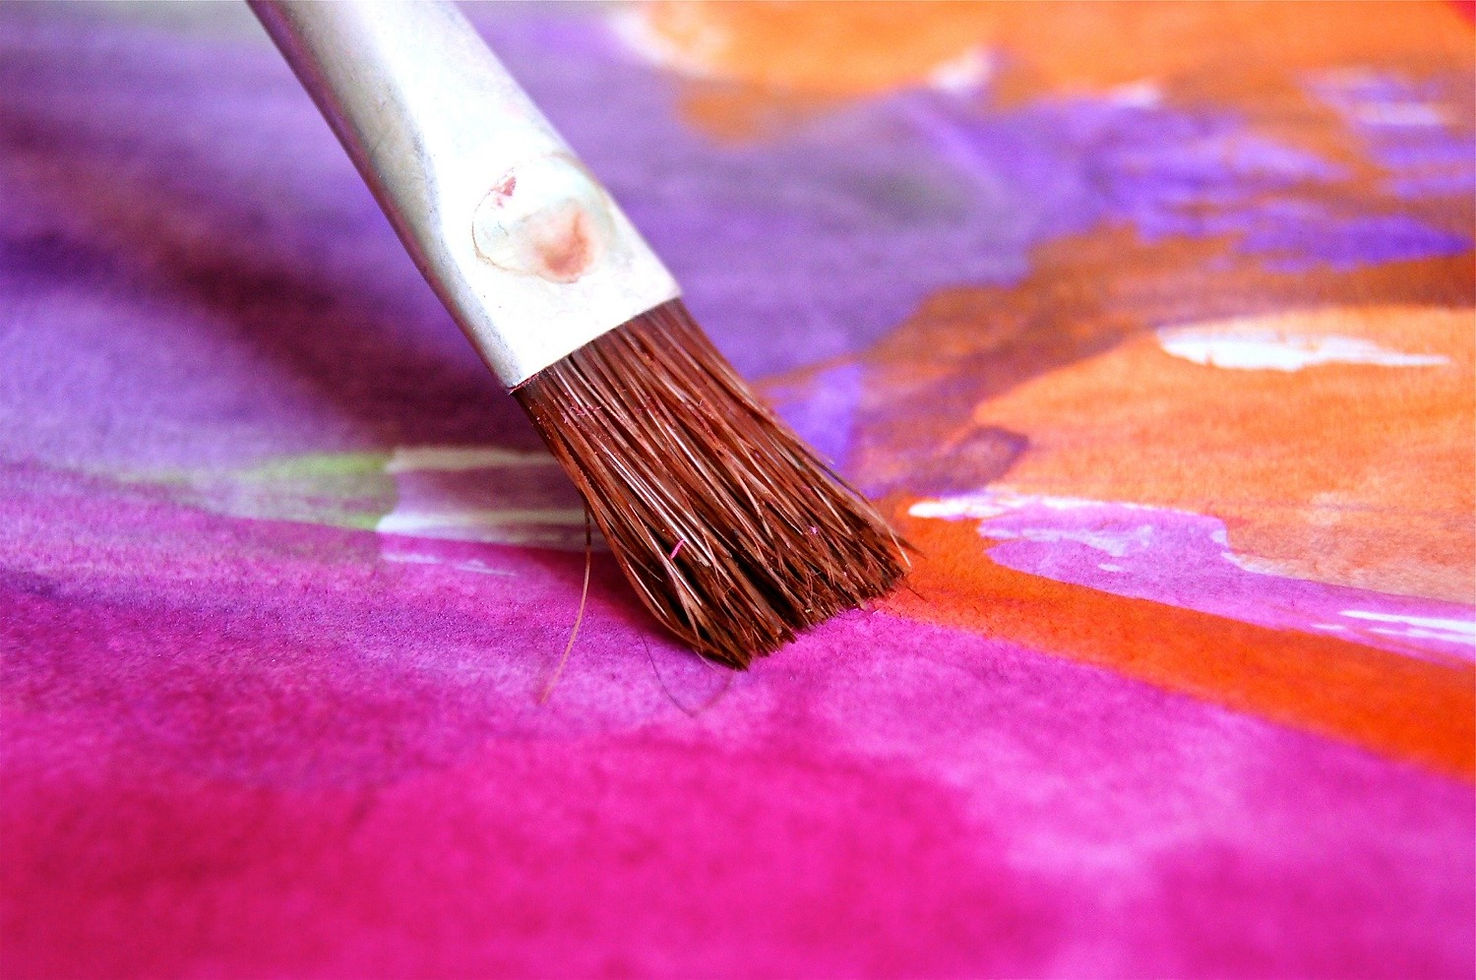
In a nutshell, scrapbooking using mixed media is just about using a mixture of art forms on your layout. Traditionally, scrapbooking is pretty much paper based. But splash some paint onto your page and *ta-da*-you’ve got your mixed media layout!! Ok, so maybe there’s a little more technique and finesse to be had but you get my drift? And actually, that said, one of my first dabbles into using mixed media did consist of me basically splashing paint onto my page! And it looked great if I do say so myself!
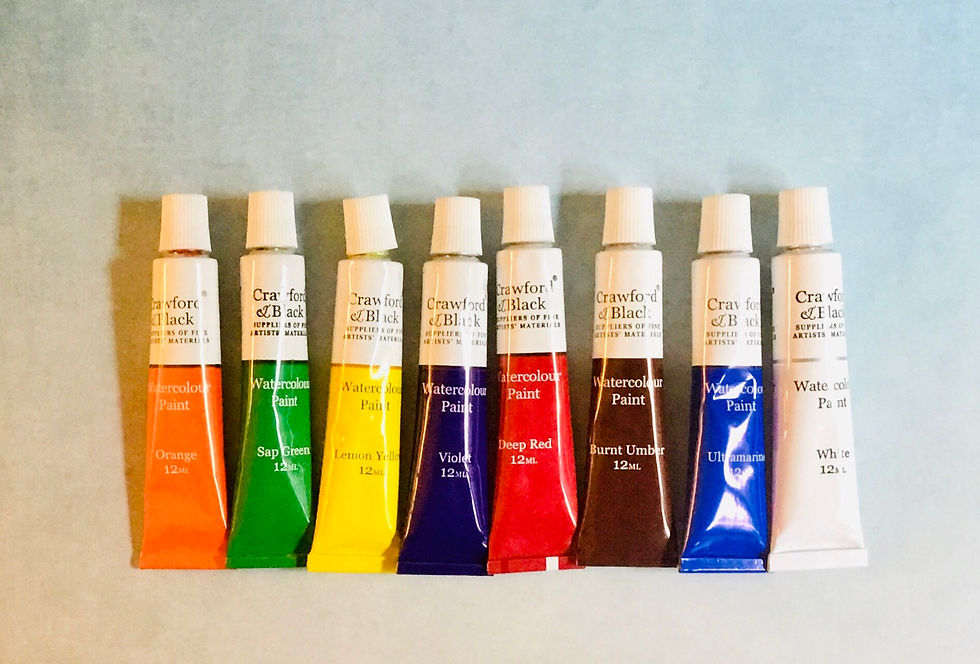
Now, I’ve come to realise that there are loads of different ’media’ that you can use...acrylic paints, oil paints, watercolours, inks, pastes....the list goes on. But I needed to start with something easy. And inexpensive, (if you’ve read my Scrapoholic post you’ll understand why!). So I opted for watercolour paints. I mean, kids use these in pre-school right? So I felt they were possibly at the right kind of skill level for me. I picked up a lovely ‘Crawford & Black’ set from The Works for only £3, which had 12 colours covering the rainbow spectrum so I was very pleased with my find!
The first technique I tried was a ‘smudging’ method that I’d seen, (can’t guarantee that’s the technical term). I had a photo of my little girl that I really wanted to use in a layout as it seemed to sum up her ‘lockdown’ experience (mainly horizontal and wrapped in a blanket). I loved the way the sunlight shone into the room so decided to enhance this with a sunny orange paint. I squirted a tiny blob (again, technical term disclaimer) onto a piece of plastic-this was just a wrapper from a sheet of stickers- and added a drip of water at a time until I felt it was the right consistency-wet! This was all very experimental at this point! Next, I pressed the painted side of the plastic down onto my blank scrapbooking page and smooshed it around with my fingers to get the desired effect. Once it was dry, I added my other elements as normal. And I was pretty happy with it as a first attempt!

I had, however, made a rookie error....the wet paint had made my page warp slightly. In future I would use a special watercolour paper or apparently there’s a product called ‘Gesso‘ that you can apply to prep your paper first (which would work well if your papers are already bound in a scrapbook like mine). You can pick this up at most hobby and art stores and I’ll definitely be writing a future post about it as it looks amazing!
But the second watercolour technique I tried didn’t need any special papers or weird sounding preparation products and dried in seconds! I’ll be showcasing this in my next post. So, if you’re looking for a super speedy ‘Multi Media’ layout that will make you look like you’ve been doing this for years, check back soon.
Happy Smooshing!
Vicky x
The Secret Scrapbooker


Comments